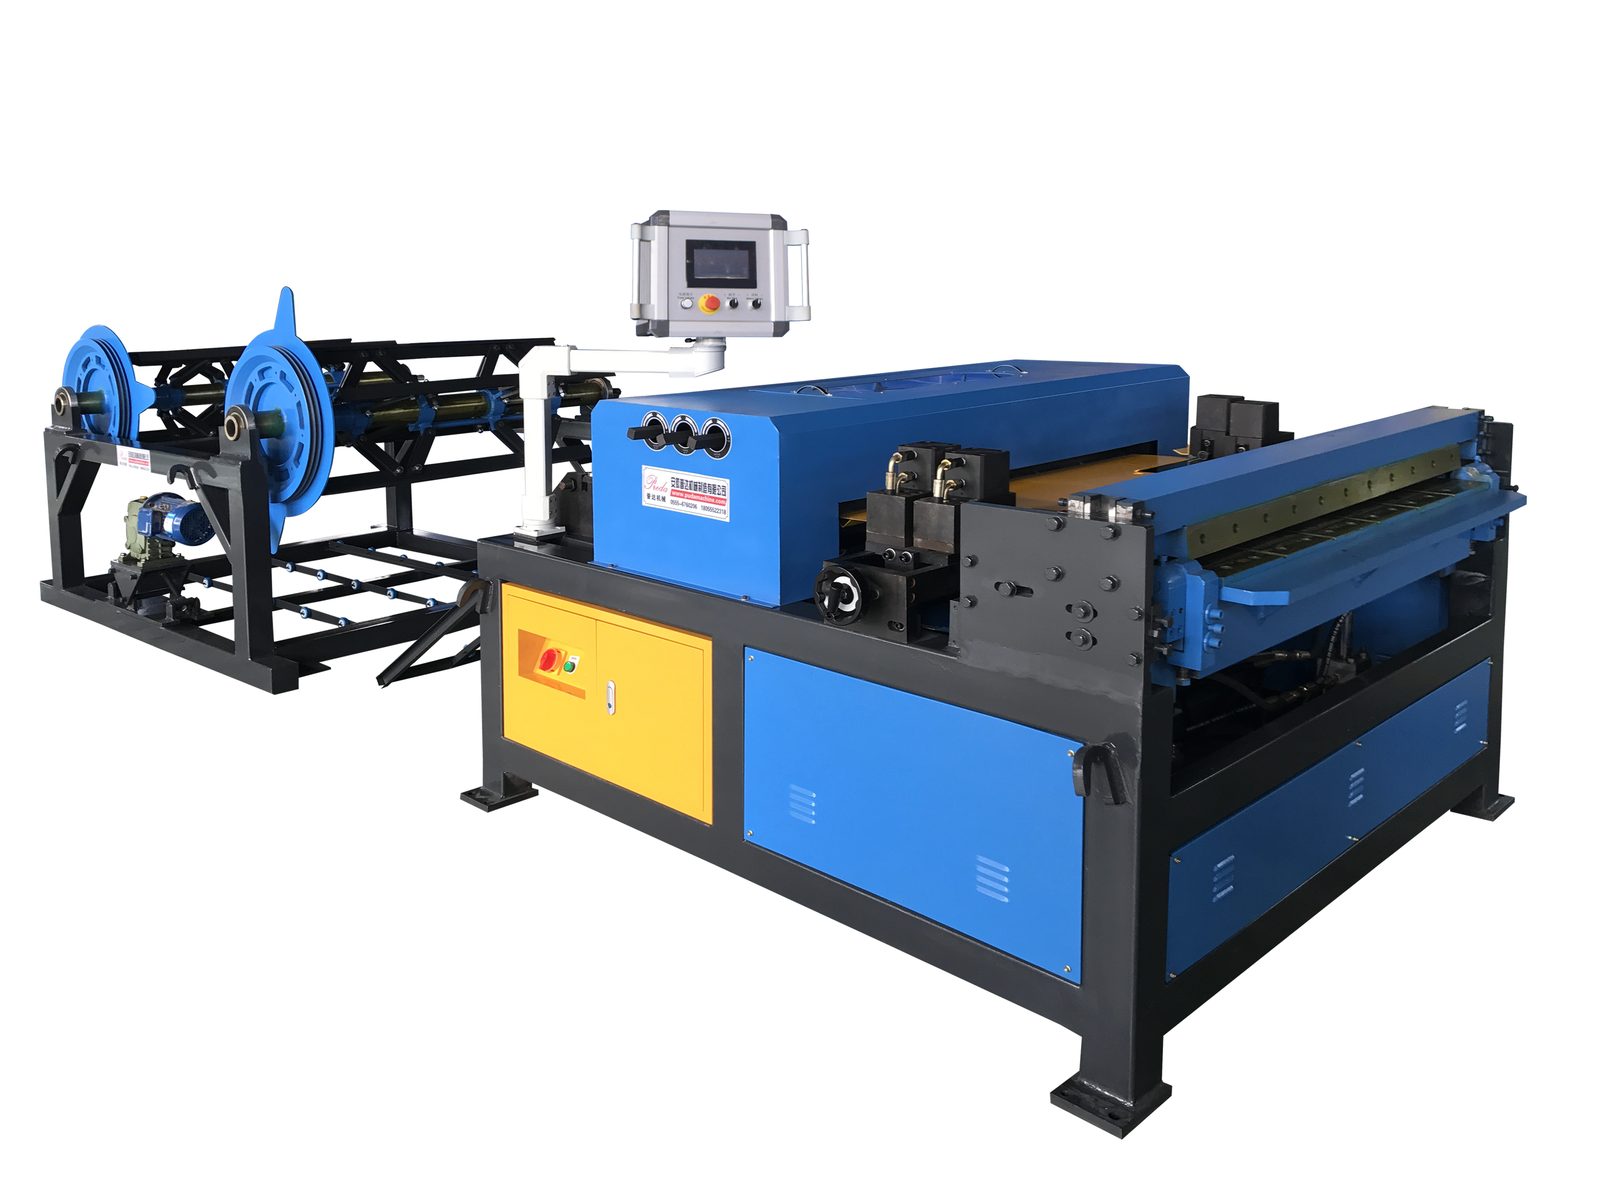
An automatic duct line runs repeatable blanks while the order stays the same; the point where quality and lost minutes show up is the changeover, when the gauge, section size or both move to the next job. A coil-fed rectangular line feeds strip through leveling, beading or grooving, notching and shearing stations, so a changeover touches every station in sequence rather than a single dial. This guide walks through what to check before the new run, how each preparation station is set for a gauge or section change, how the control system recalls the setup, and what the first-blank check must confirm before the batch is released. Machine figures come from the Preda AML-3 and AML-6 automatic duct lines, keeping the checklist tied to real specifications.
Two Kinds of Changeover: Gauge and Section
The first step is separating what actually changed. A gauge change moves the strip from one thickness to another; it affects how firmly the leveling and forming rollers close, how the shear cuts, and how the panel folds downstream. A section change moves to a different rectangular width or length; it affects the notch pattern, the blank length the shear cuts, and the profile position along the panel. Some jobs change both at once, and running a combined changeover station by station prevents one adjustment from being assumed to cover the other.
The preparation line produces blanks; folding and seam closing follow on downstream machines. That division matters during changeover: a panel that exits the line out of square, off-width or with the wrong notch carries the mismatch into the lockformer, flange former and seam locker, where it is harder and slower to correct. The changeover checklist below therefore stops at the prepared blank, even though the finished section still depends on those downstream stations.
Before the New Run: Drawing, Coil and Program
Before touching rollers, the setter confirms the next job's gauge, panel width and length against the drawing, and checks the queued coil matches that gauge and width. On a two-station coil car the second coil sits beside the active one; if it is a different thickness or width it should be matched before it is needed, so the swap does not stop the line for a program change. On the AML-6 four-cradle setup, the next roll should likewise be matched to the active gauge before the run reaches it.
The control side of the changeover is the program or recipe. The AML-3 uses a Mitsubishi PLC touchscreen for gauge and width settings; the AML-6 runs a computer control system through the line. Where the machine stores a setup for the recurring section, recalling the matching recipe keeps roller and notch settings consistent with the last good run; where the setting is entered by hand, it should be recorded against the section so repeat jobs do not start from scratch each time.
Station-by-Station Setup After a Change
The stations are checked in feed order because each one sets a condition the next relies on. Leveling conditions the strip flat; beading or grooving positions the long-profile features; notching cuts the box corners; shearing sets the blank length. A problem introduced upstream is carried downstream, so the checklist follows the strip rather than inspecting the finished blank alone.
| Station | Gauge change focus | Section change focus | First-blank check |
|---|---|---|---|
| Coil car / feed | Queued coil matches active gauge; centre alignment | Coil width covers the new panel width | Coil edge straight, leading edge threads cleanly |
| Leveling rollers | Roller pressure set for the new thickness; heavier strip needs more closure | No special width adjustment; strip stays flat through guides | Blank flatness, no curl along the length, no side wander |
| Beading / grooving | Profile pressure matched to gauge | Profile position set for the new section layout | Bead or groove runs full length in consistent position |
| Notching | Cuts cleanly through the new thickness without burr | Notch pattern follows the new section dimensions | Corner notches match the drawing on the first blank |
| Shearing / exit | Shear cut clean through the gauge; no drag on heavy strip | Blank length set for the new section; panel width within band | Width, length and diagonal match; blank exits toward downstream bench |
How the Two Line Classes Compare on Changeover
Both Preda line families process the same 0.45-1.5 mm material band and share the 1300, 1500 and 1600 mm width configurations. They differ in control style, coil handling and working speed, which changes how smoothly a changeover runs rather than what the preparation sequence requires. The table below sets the verified specifications side by side; no output figure beyond these listed bands and speeds is claimed.
| Specification | AML-3 Auto Duct Line | AML-6 Auto Duct Line |
|---|---|---|
| Models | AML-3-1300 / 1500 / 1600 | AML-6-1300 / 1500 / 1600 |
| Material thickness | 0.45-1.5 mm | 0.45-1.5 mm |
| Maximum width | 1300 / 1500 / 1600 mm | 1300 / 1500 / 1600 mm |
| Working speed | 12 m/min | 16 m/min |
| Control | Mitsubishi PLC touchscreen | Computer-controlled line |
| Coil handling | Two-station coil car | Four electric cradles, four trays, 5-7 t per roll |
| Preparation scope | Feed, leveling, beading/grooving, notching, shear | Adds Pittsburgh lock, duplex TDF flange, folding on the integrated line |
First-Blank Release and Batch Guard
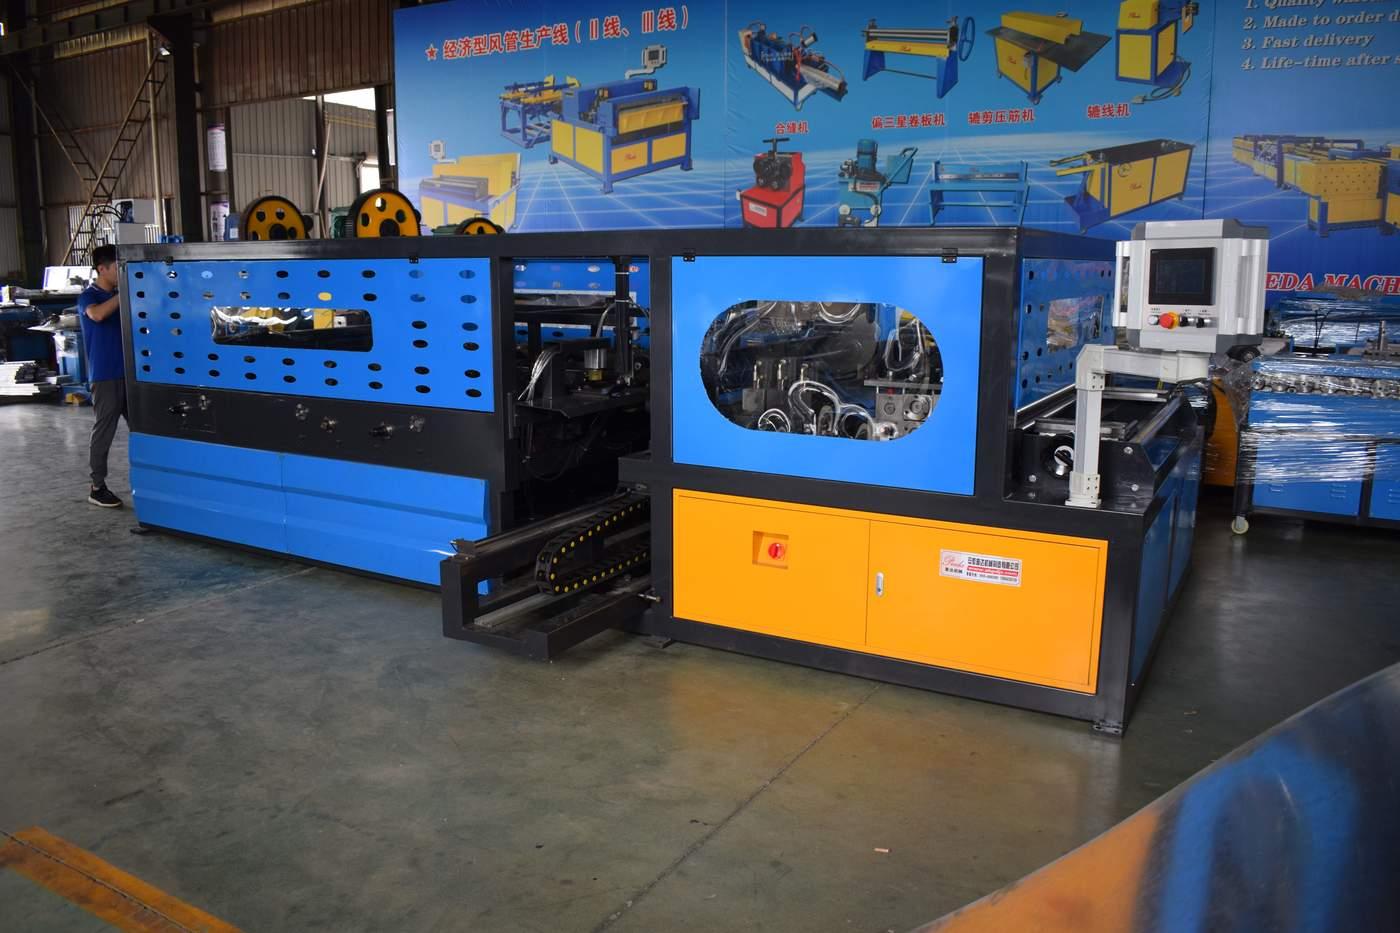
After the settings are made, one blank is run and measured before the batch continues. Check width against the strip and configuration, length against the section drawing, diagonal match for squareness, and notch position against the box corners. A panel that is off on the first blank should be corrected at the station that caused it rather than folded and inspected at the downstream bench. Only after that first blank passes do the repeat runs continue under the same settings.
The setter still holds the final judgment. The recipe or manual setting repeats the station conditions, but the operator reads the drawing, confirms the first blank, and watches the run for drift in size, notch position or flatness. Existing shop knowledge of gauge feel and fold behavior matters here: it lets the setter recognize a marginal panel before it leaves the line, instead of after a stack has been folded.
Common Changeover Problems and Their Source
- Curled blank after a heavier gauge: leveling rollers still set for lighter strip; adjust at the leveling station before shearing more blanks.
- Wrong corner notch: notch pattern not recalled or entered for the new section; verify against the drawing on the first blank.
- Blank out of square: feed wander or off-centre coil alignment; the shear cannot square a panel fed off-line.
- Shear burr on heavy gauge: shear set for lighter thickness or blade condition; check cut edge on the first section.
- Second coil mismatch mid-run: queued coil not matched to the active gauge; match before the active coil empties.
Keep one written setup per recurring section
Record the gauge, width, recipe or roller setting and notch pattern for each section the shop repeats often. On the next run, recall or follow that record rather than rebuilding the setup from memory; the first-blank check then confirms the recorded setting still holds for the current coil.
Frequently Asked Questions
Does a width change require changing the machine model?
No. The AML-3 and AML-6 are each offered in 1300, 1500 and 1600 mm configurations chosen against the widest panel on the order list. Within a configuration, section widths are set at the line; a panel beyond the configured band needs the next model, not a roller adjustment.
Which line is better for frequent changeovers?
Both share the same preparation sequence and gauge band. The AML-3 uses a Mitsubishi PLC touchscreen and two-station coil car; the AML-6 runs a computer control system with four coil cradles and a 16 m/min speed, suited to higher weekly feed volume. The choice follows volume and control preference rather than changeover capability alone.
What should the first blank be checked for?
Width, length, diagonal squareness, notch position against the drawing, flatness and edge condition. Problems found on that blank trace back to the feed, leveling, beading, notching or shearing station that caused them.
Does the preparation line close the Pittsburgh seam?
No. The line prepares and feeds the blank; the Pittsburgh edge is rolled on a lockformer and the seam closed on a downstream seam locker. A well-prepared blank reaches those stations in better condition, but seam tightness still depends on those machines' setup.
Preda Care Service Promise
Every Preda Machine ships CE certified with a two-year warranty, backed by 24/7 technical support, free spare parts shipping, remote PLC programming assistance and a global agent network. A support engineer can review your section widths, gauge mix and weekly volume against the AML-3 or AML-6 configuration and walk through the station setup routine.
Plan the Changeover Routine for Your Section Mix
Send the rectangular widths, gauges and section types you repeat most often, and we will map them to the AML-3 or AML-6 line configuration, including the station-by-station setup and first-blank check that keeps blanks consistent across changeovers.
Compare Auto Duct Lines →